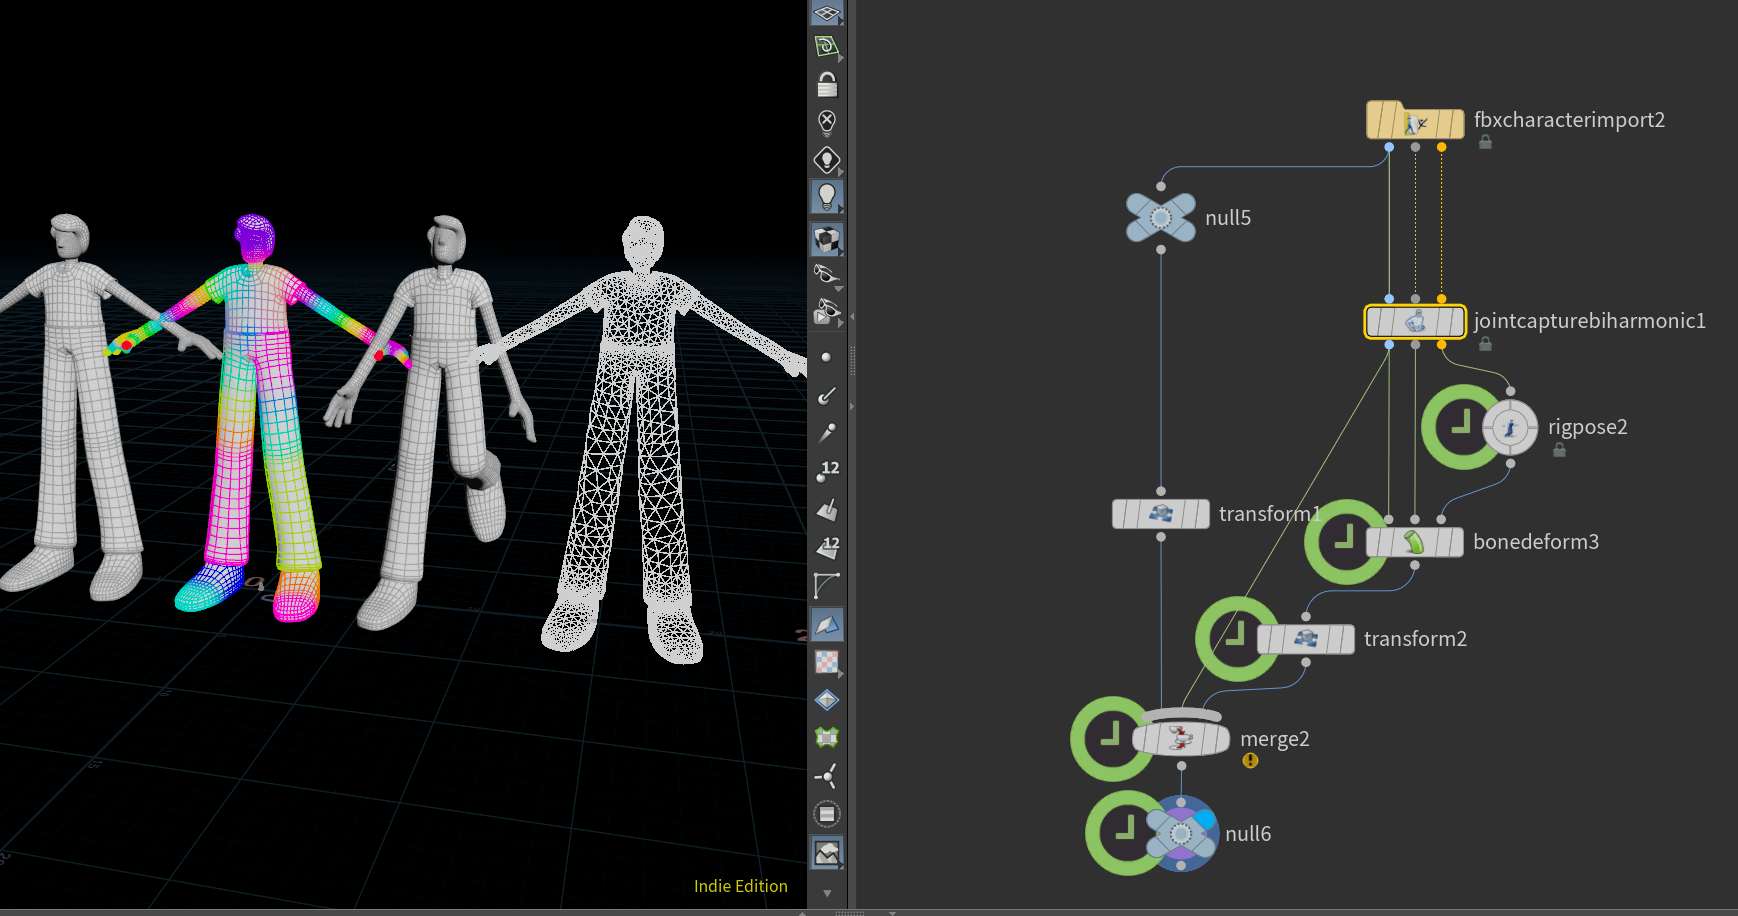
Very quick and dirty overview of the process I’ve been using to work with rigs in Houdini.
I still create most of the rigs in Maya (for good reason, but with Houdini’s APEX rigging framework coming along, who knows)
Modeling
I still model in Maya because I know it. I’ll try not to focus on the software too much because most of these things can be done just as easy (if not easier) in other packages.
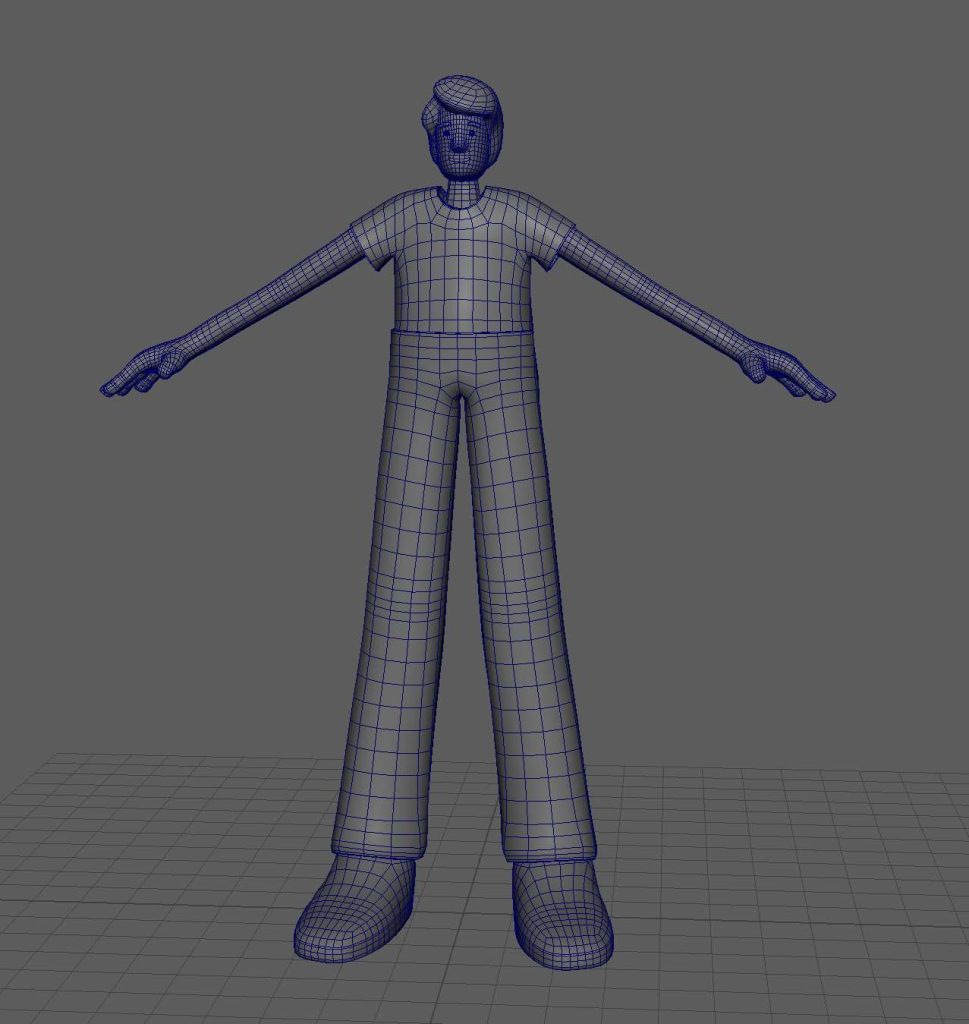
I’ll block out a character in Maya.
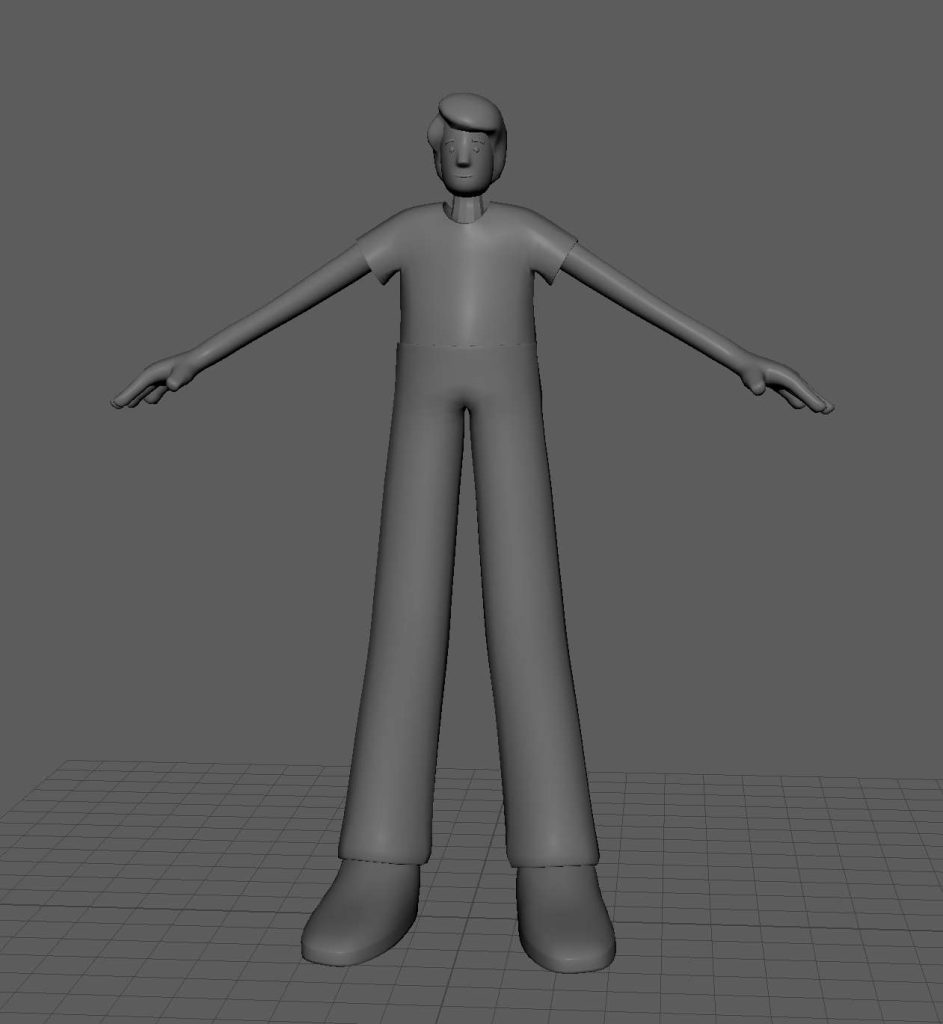
Sculpting
Then to Zbrush for sculpting.
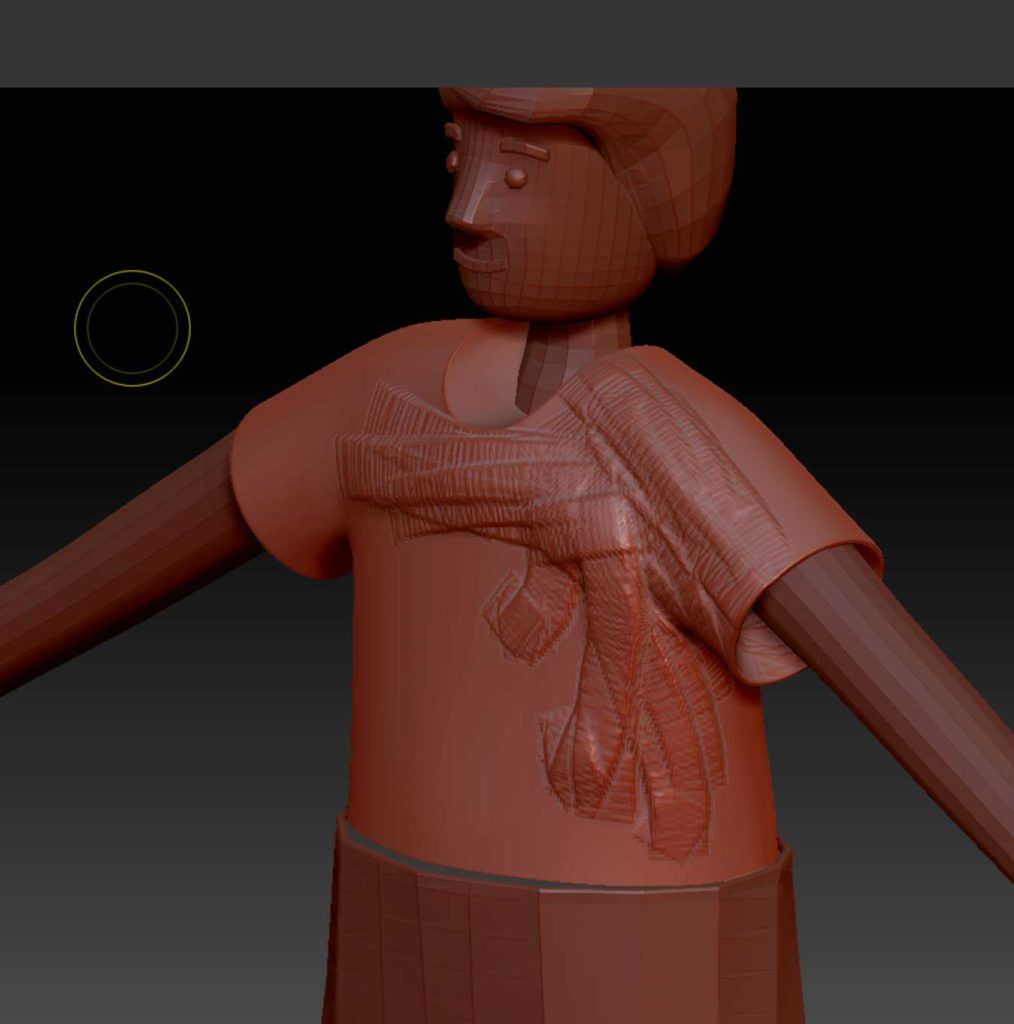
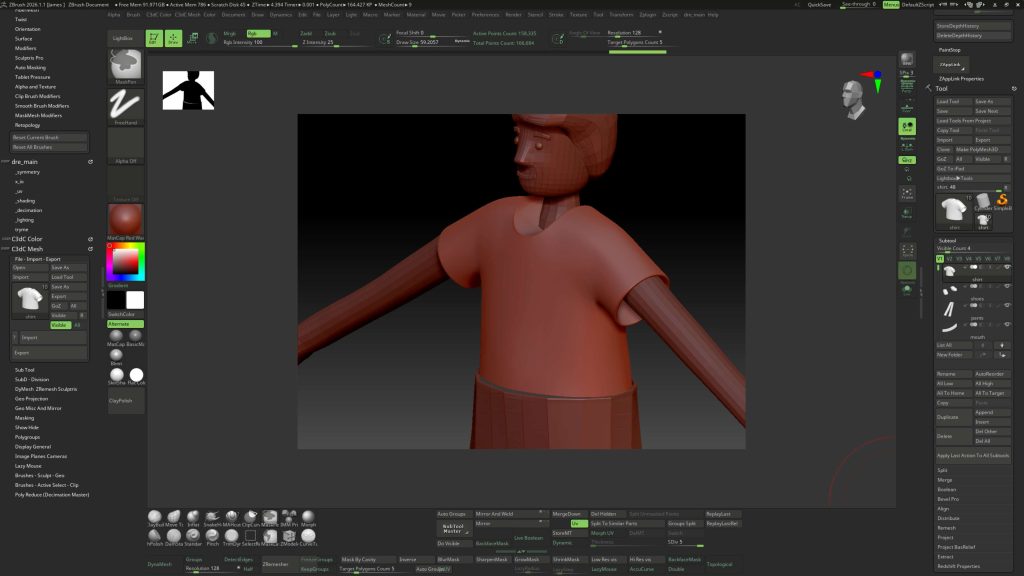
It’s just important to throw it back and forth to block stuff out.
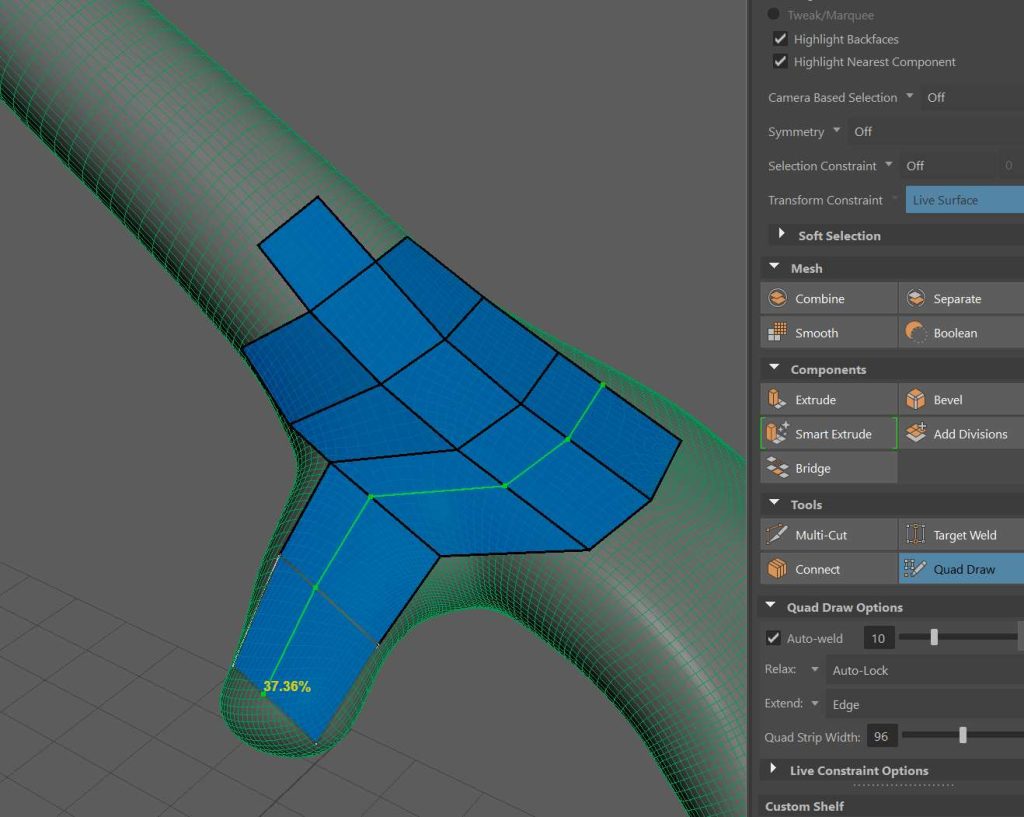
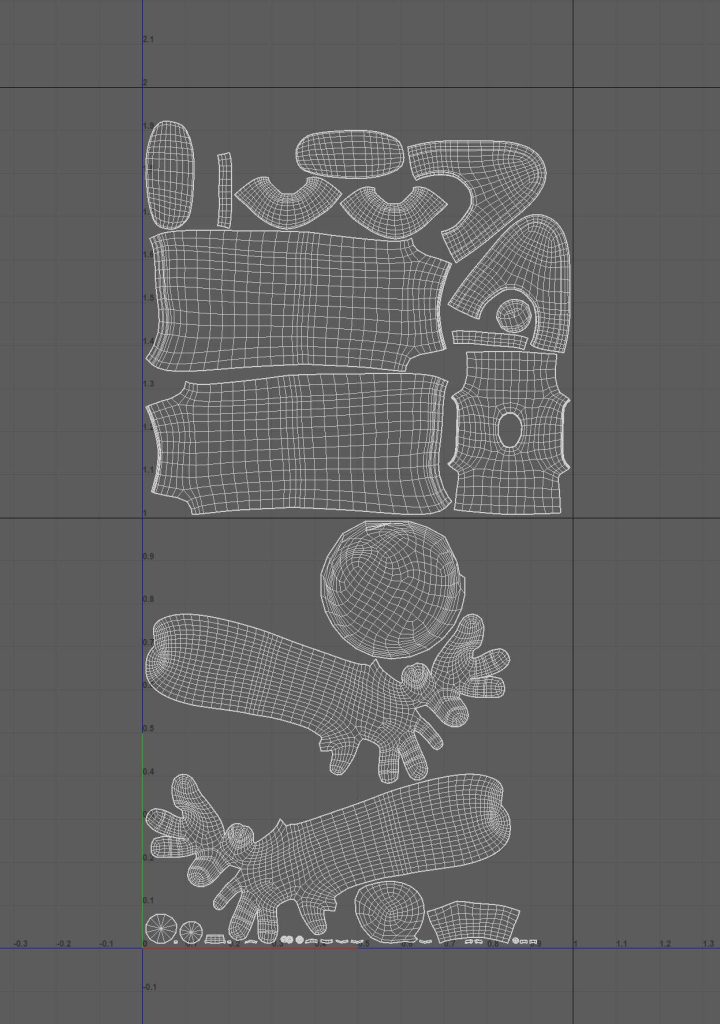
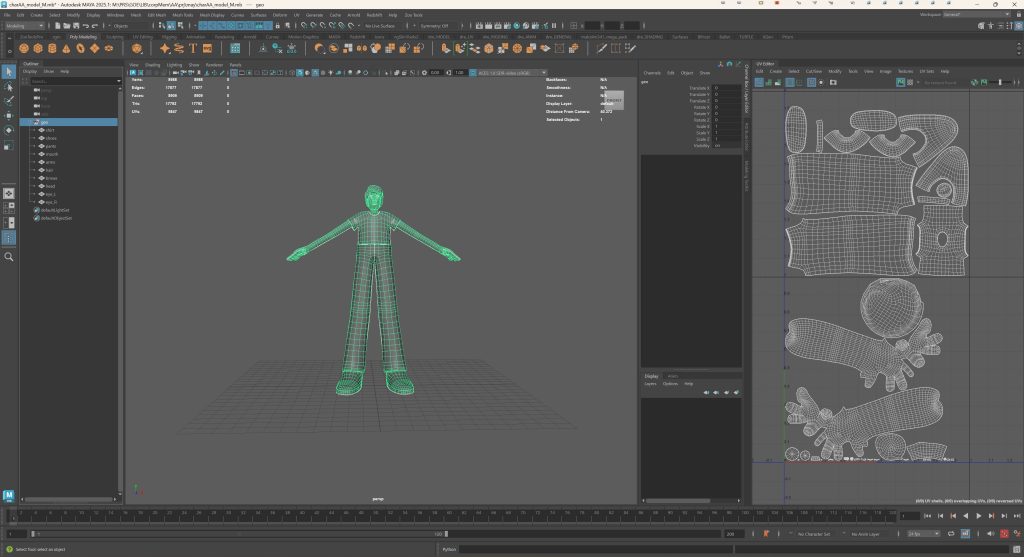
Retopo and UVs
The worst and most important step.
Rigging
Once the rig is well weighted and tested, there’s the creating the joints…
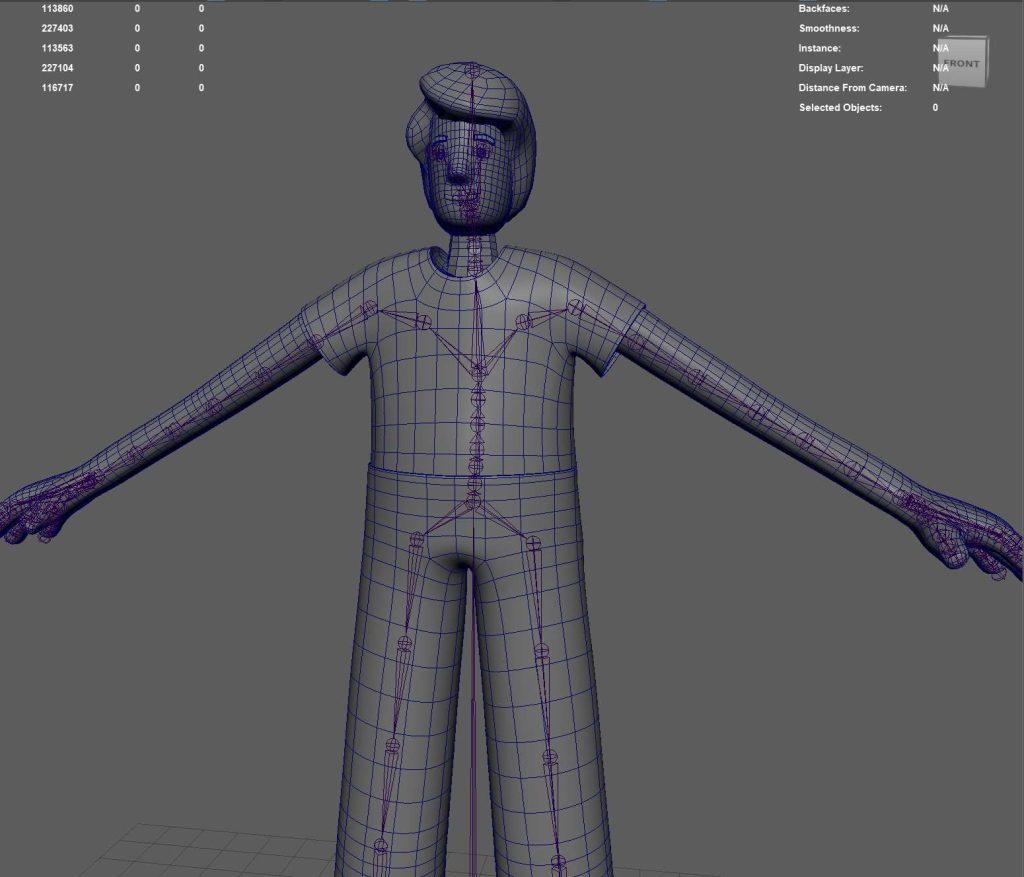
Which is lie.
I didn’t create the joints for this one because auto-riggers are so good now.
I CAN create a good joint structure with all the correct orientations and transforms, but…
Autorigging
There’s just no reason not to use them (or at least lean HEAVILY on them).
Most of the great ones are free/open-source now.
They take so much of the awful stuff out while still letting you keep a lot of control for customization. And you can constantly revise and rework and rebuild without losing time.
If it’s a human biped character, there’s already a proven rig structure for it that only needs to be adjusted to fit your character and needs.
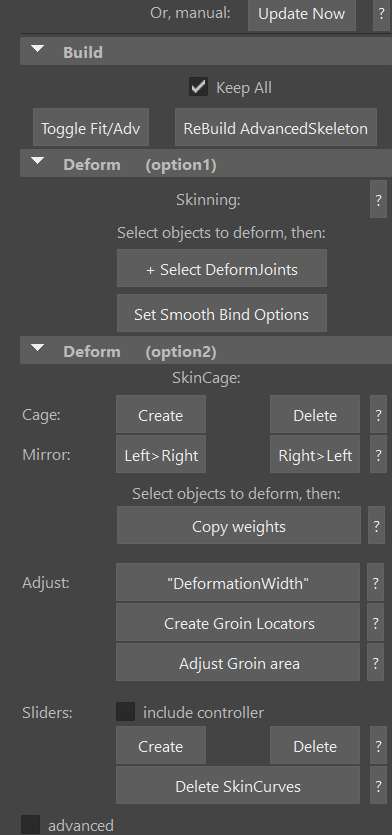
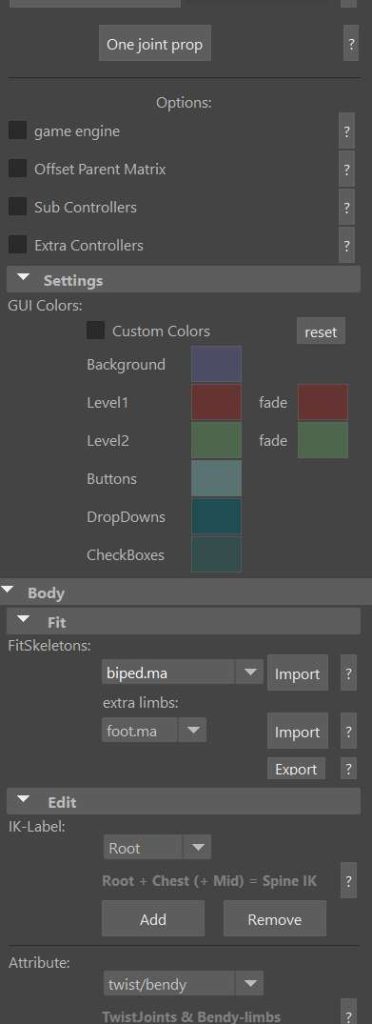
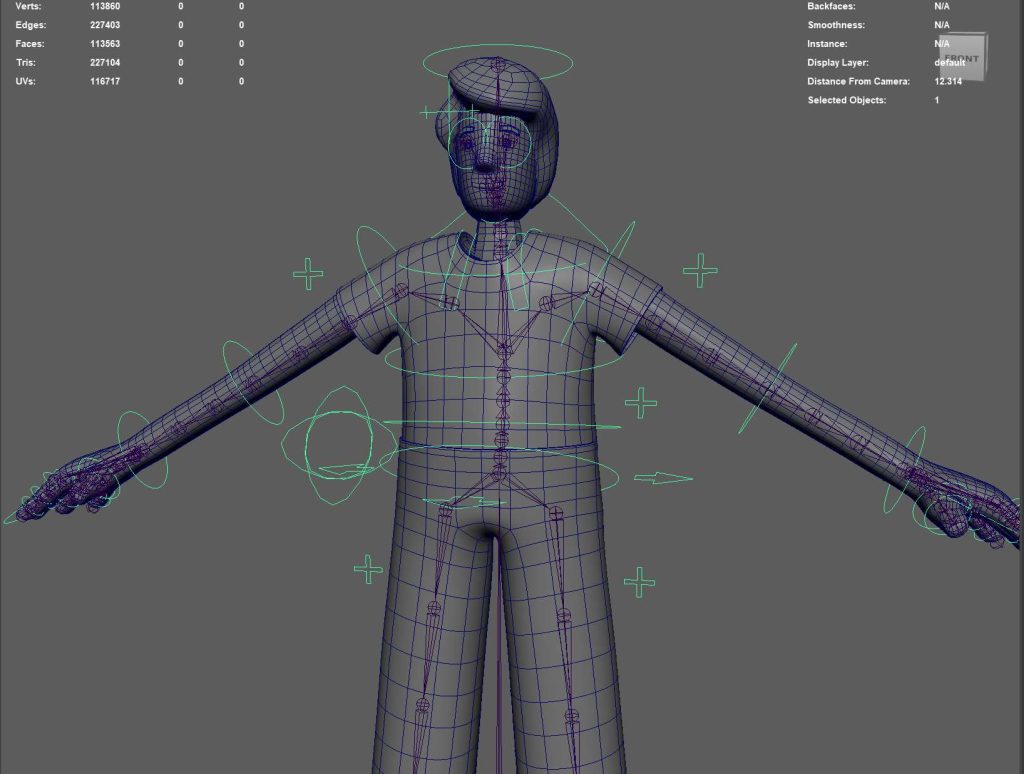
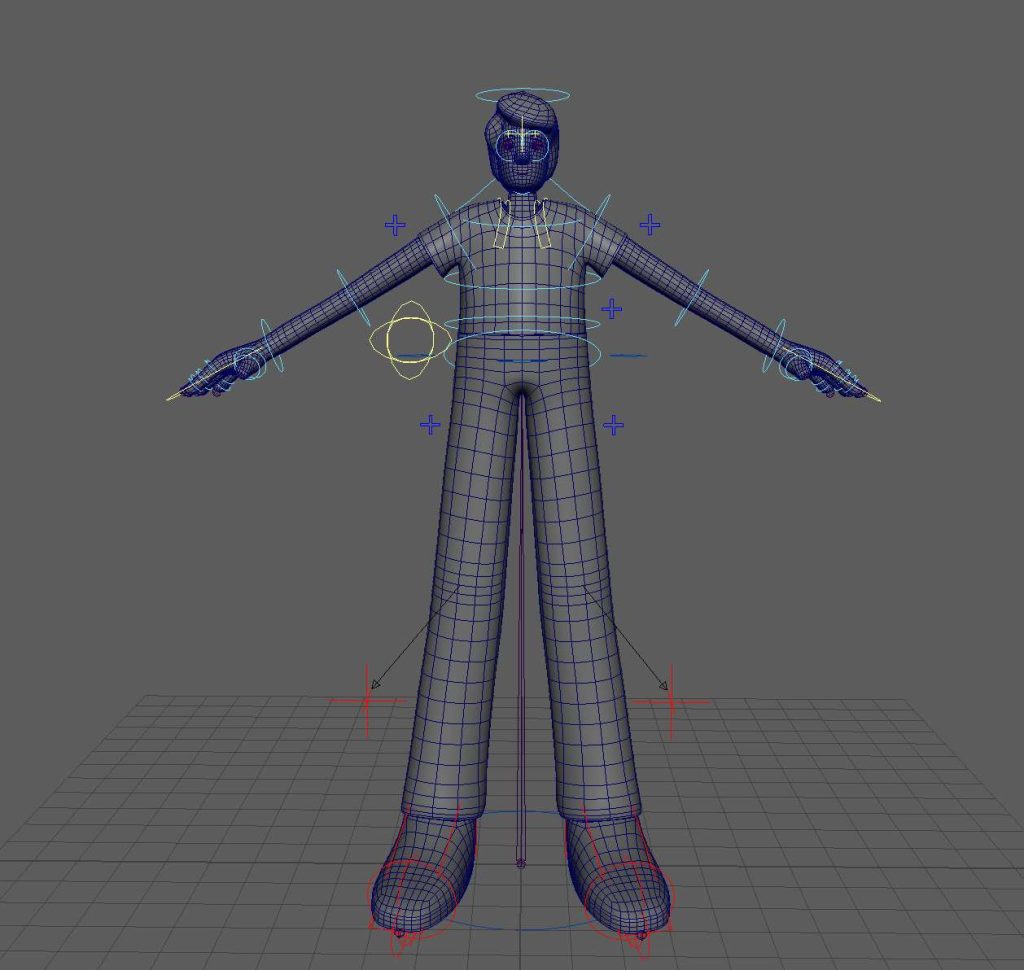
I used Advanced Skeleton on this one, but there’s lots of great ones (mgear, mansur-rig, zootools suite…).
Skinning
Next to retopology, skinning is the most painful part.
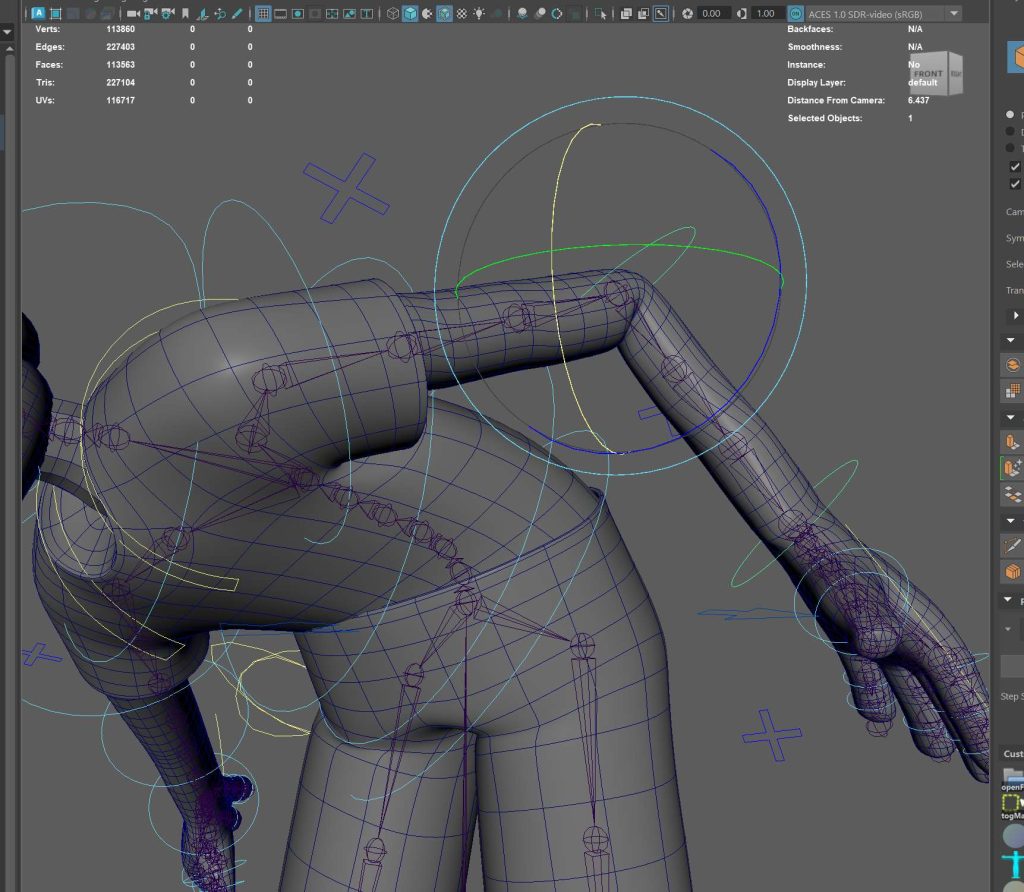
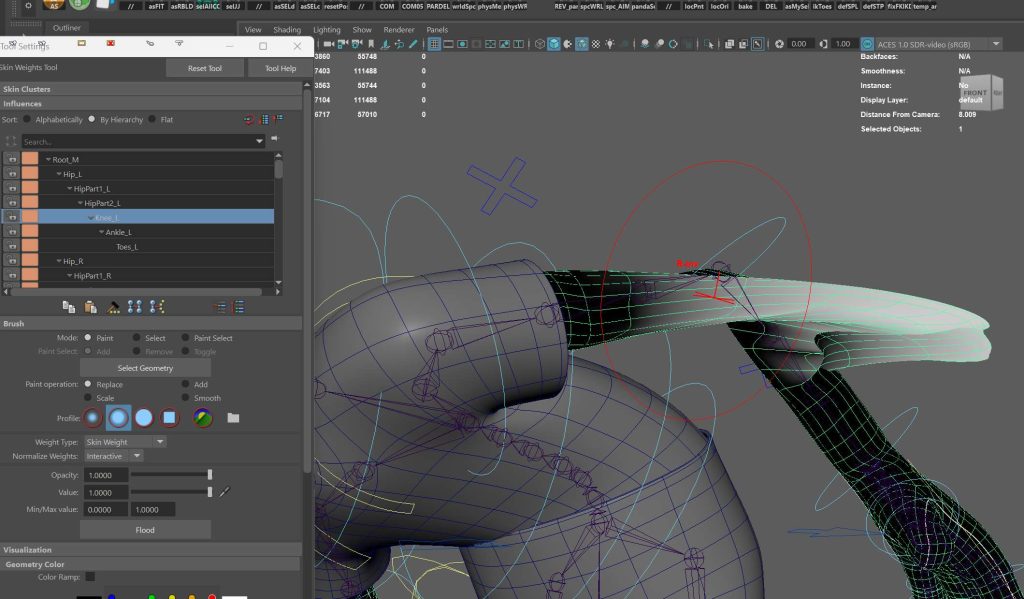
But plugins like ngSkinTools are incredible. It’s basically photoshop layers for weight painting, with masks and controls, and you can easily export the layers and reimport them if there’s a model change – truly invaluable (so invaluable that they were just bought by the people who make Maya).
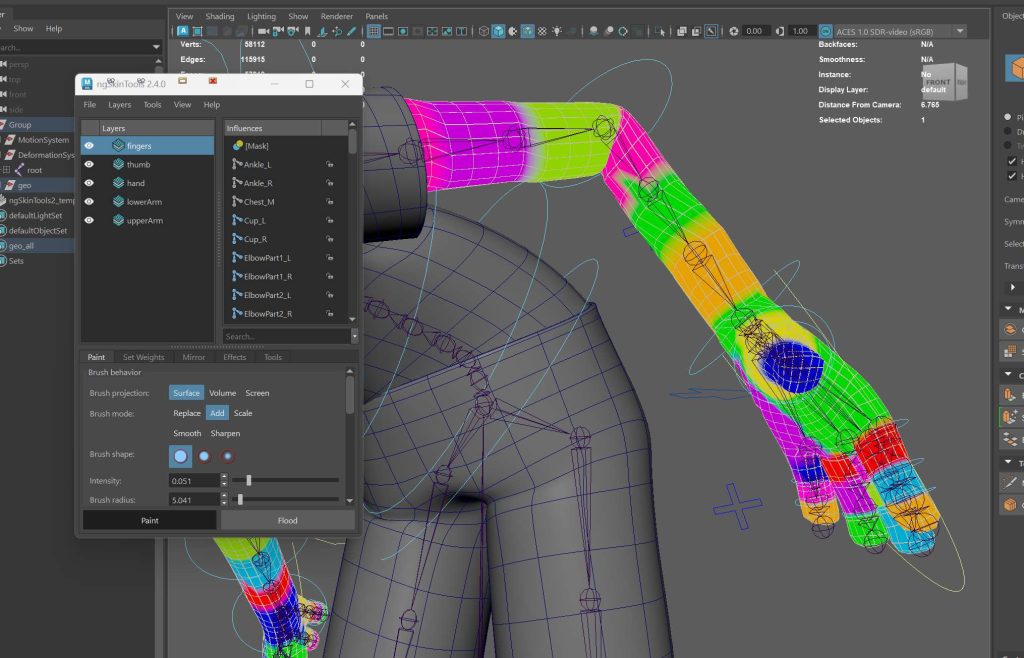
At this point, it’s a back and forth between the skinning and rigging, just testing and rebuilding.
If you made any mistakes before, this is where you find out, which is why it’s so priceless to have the systems to constantly transfer weights and quickly rebuild rigs.
Animating
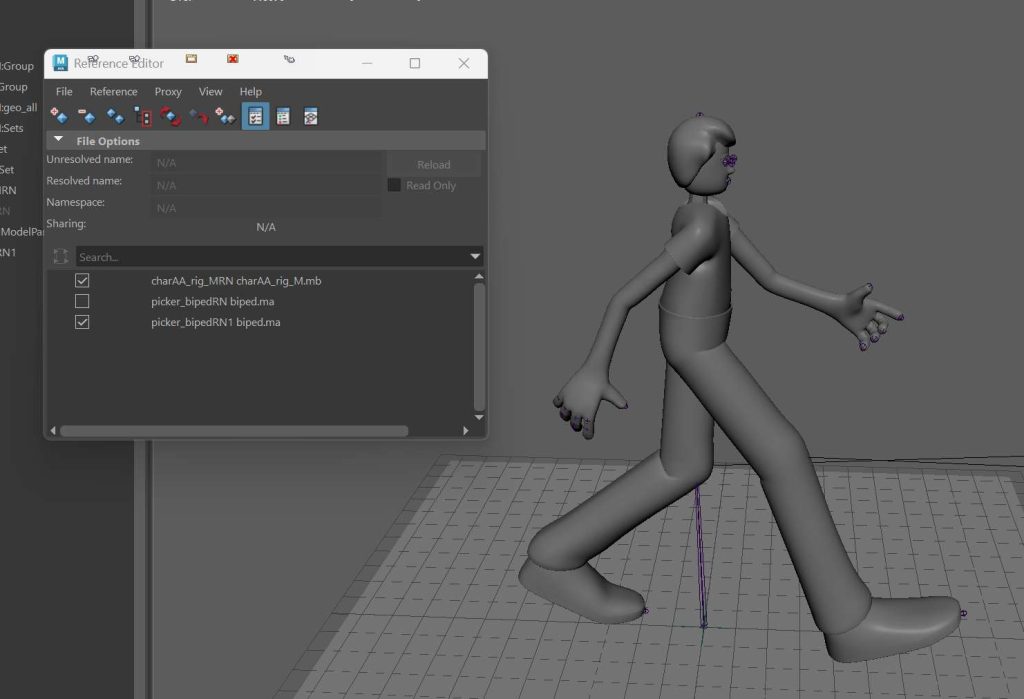
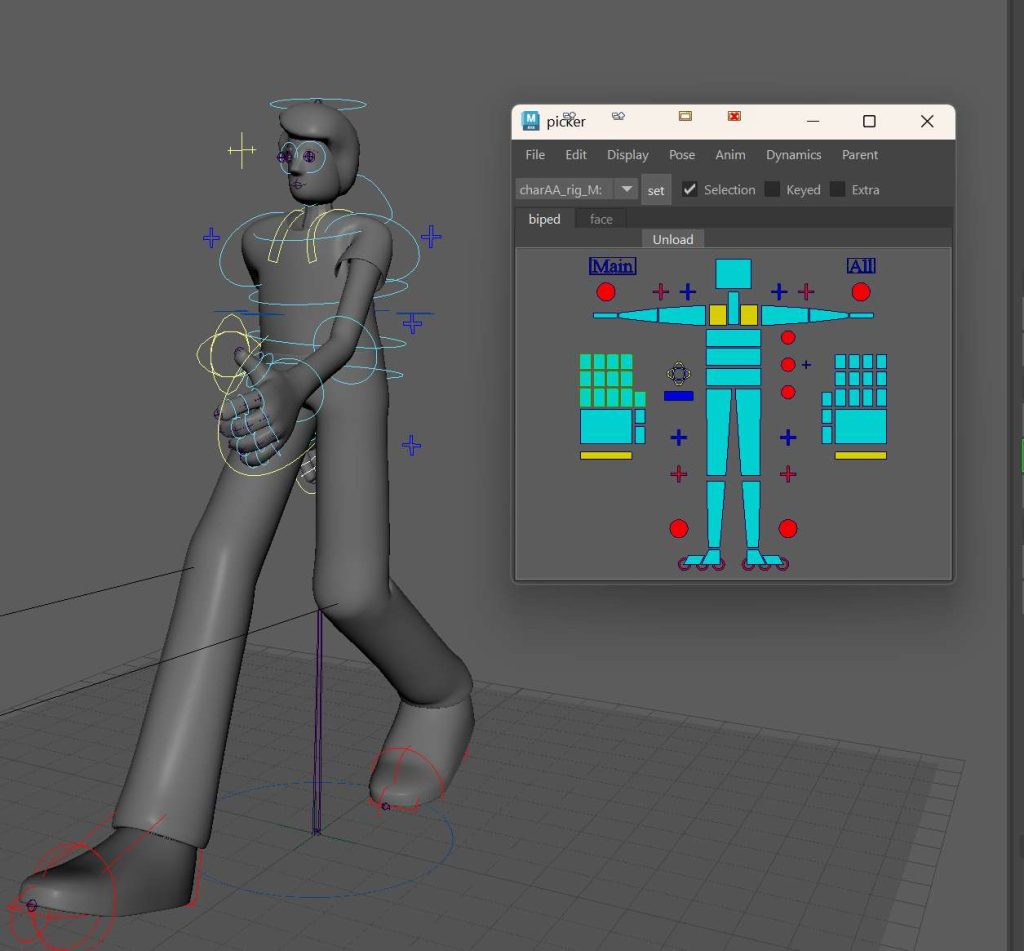
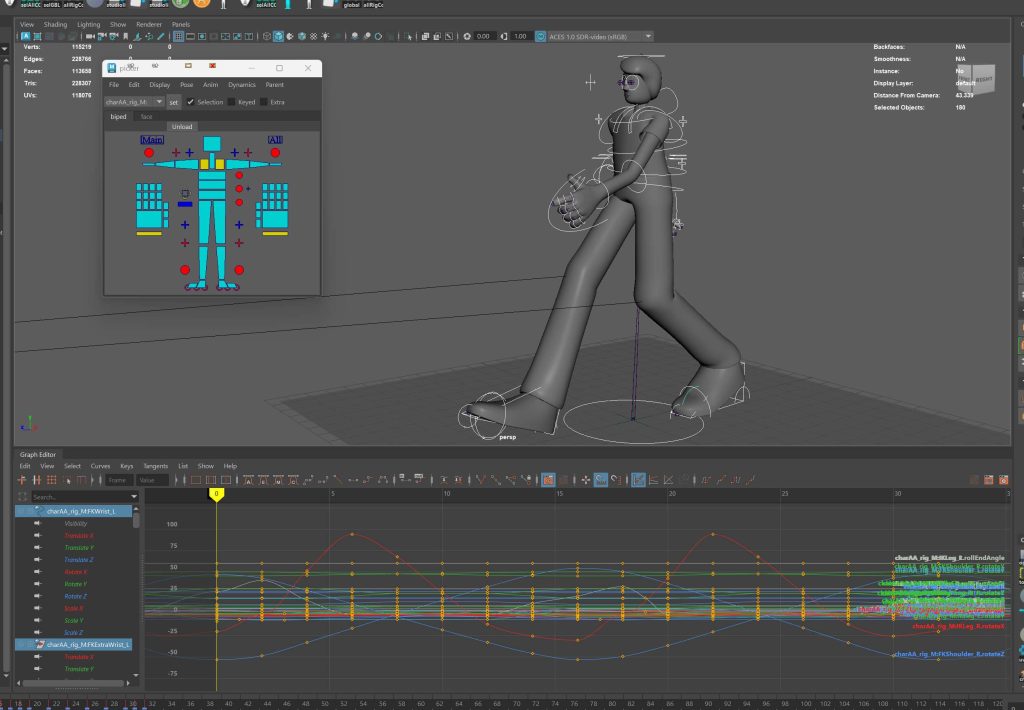
Once the deformations are sorted, I publish the rig and reference into Maya scenes where it’s just about grinding out the animations.
In this case, I’m just creating stock walk cycles, idles, runs, etc (I’ll get into why that’s great with Houdini in a bit).
For now, I’ve been keeping the actual animation in Maya (the rigs weren’t fast enough in Houdini, but that’s changed with APEX, apparently).
So, once we’ve got some animations…
…we can send them to Houdini and integrate them into the scene.
Transferring Animations and Rigs Over to Houdini
For now, I’ve just been exporting fbx’s over to Houdini.
I export the main ‘rig’ file (this is just the skin and the skeleton joints – there’s no way to get the actual rigs between apps).
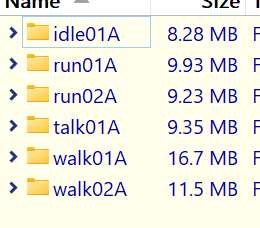
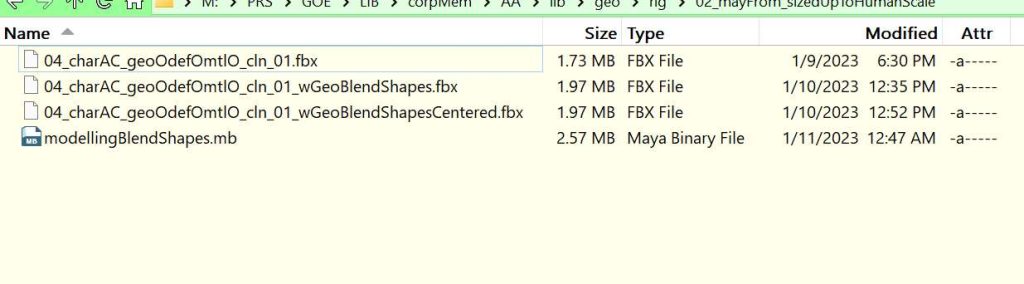
And, of course, Houdini has nodes that take in exactly that.
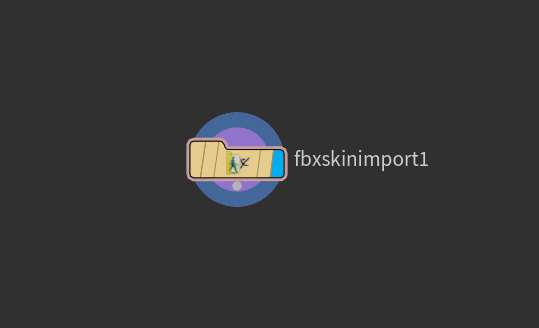
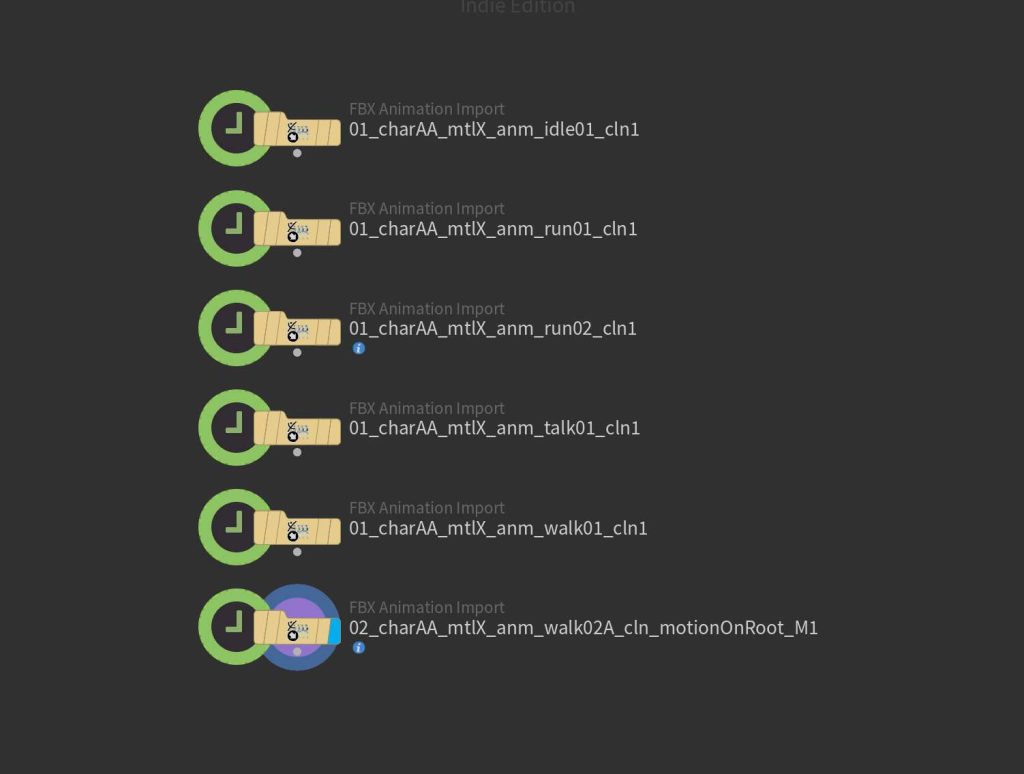
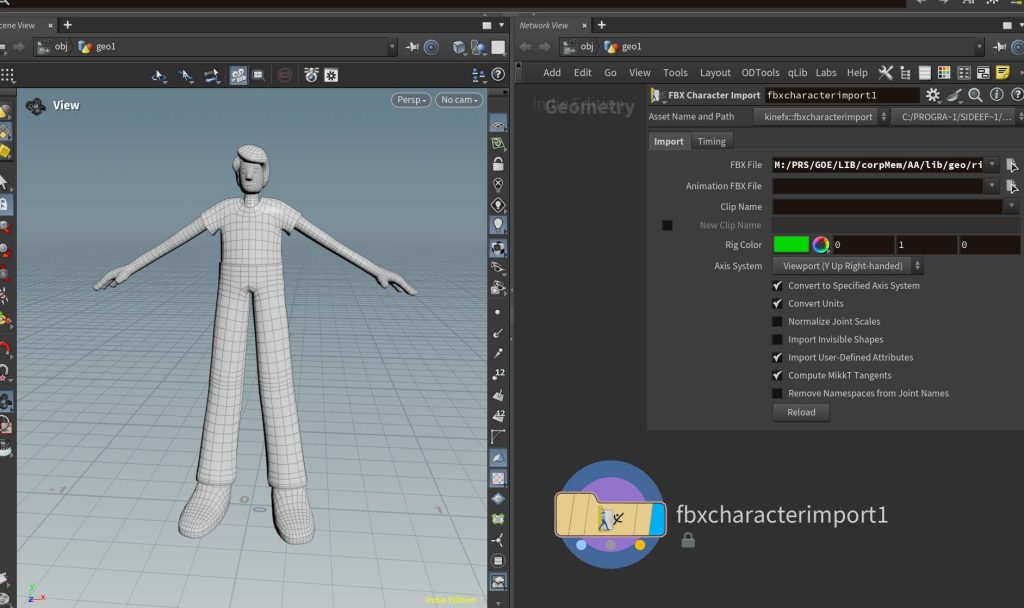
But, we’ve lost the ‘rig’.
Now it’s just points with transforms and hierarchies.
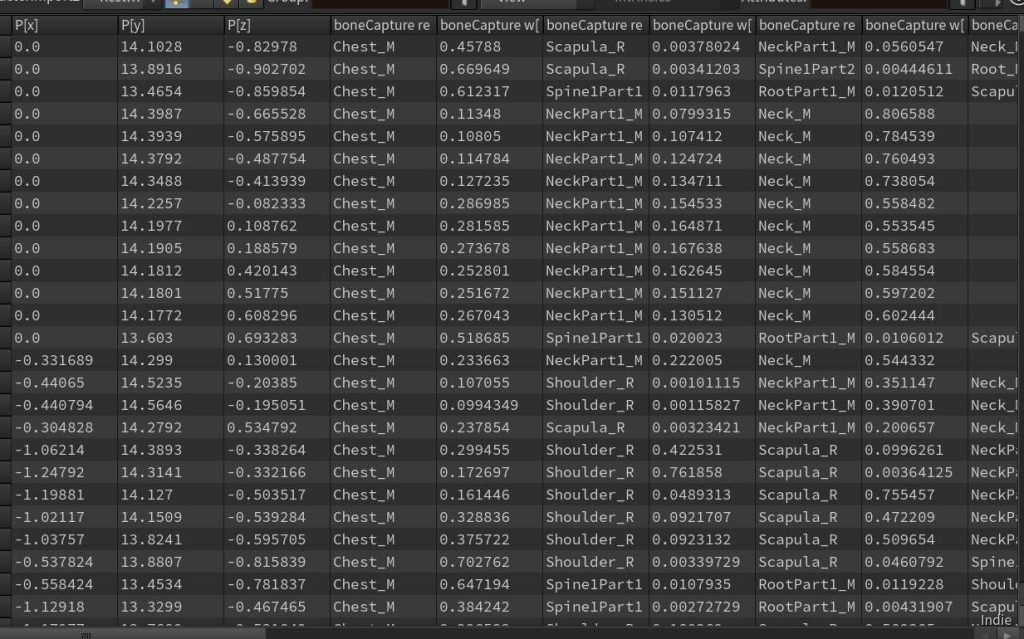
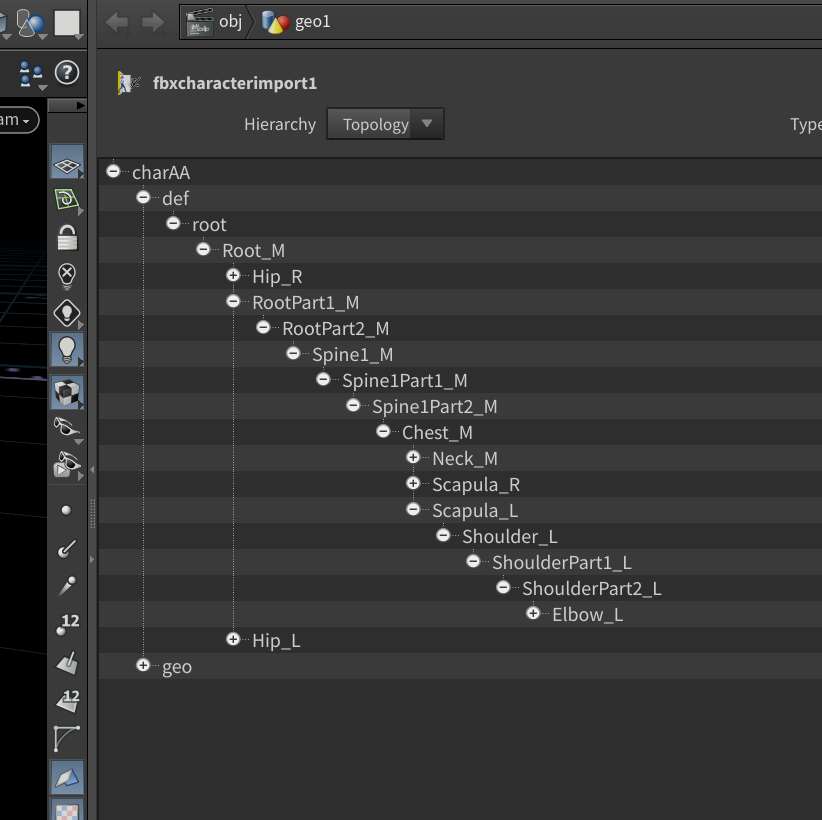
Making Use of the Characters’ Joints and Weights
It’s just a matter of connecting them up to something that can
- A) Transform the joints
- B) Deform the mesh
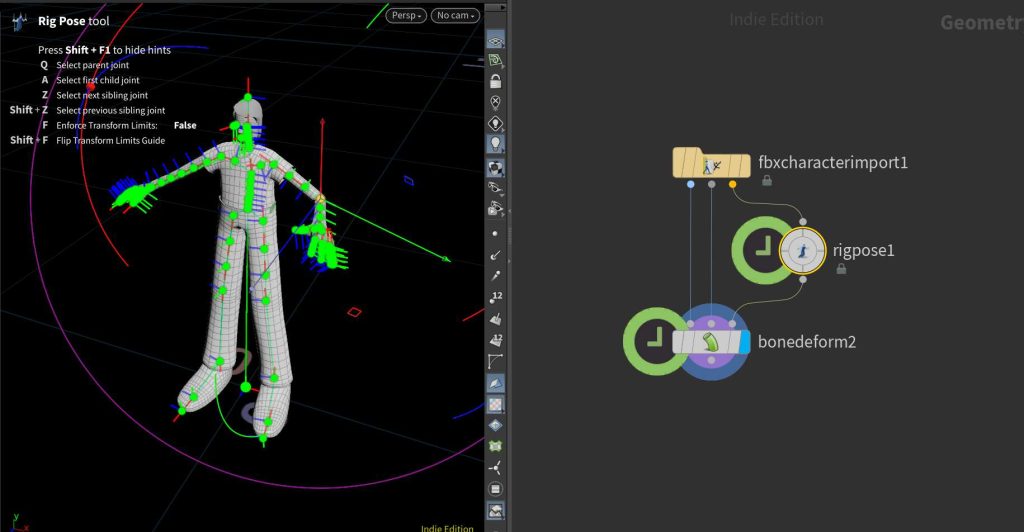
This is the most simple setup ^
It’s just the character ‘s mesh and skeleton going into a deforming thing and, on one of the skeleton streams, and thing to rotate the joints.
BUT, the down side is, again, we lost that great rig with all the controls.
I can’t really get into APEX because I haven’t dug into it (it does kind of look unfinished and, more importantly, CONFUSING).
But, you can just layer the exported animations on top of each other.
Or, if it’s a really simple animation, you can build simple rigs with simple controls in Houdini and package them as an HDA.
Like here, for this character, it’s using that same imported character with skin and joints, and just adding a some IK controls so you can move the arms and legs by grabbing the hands or feet.
And, if you have a more complex character, you can create really versatile HDA’s with actual controls and parameters, basically recreating what we did in any other package.
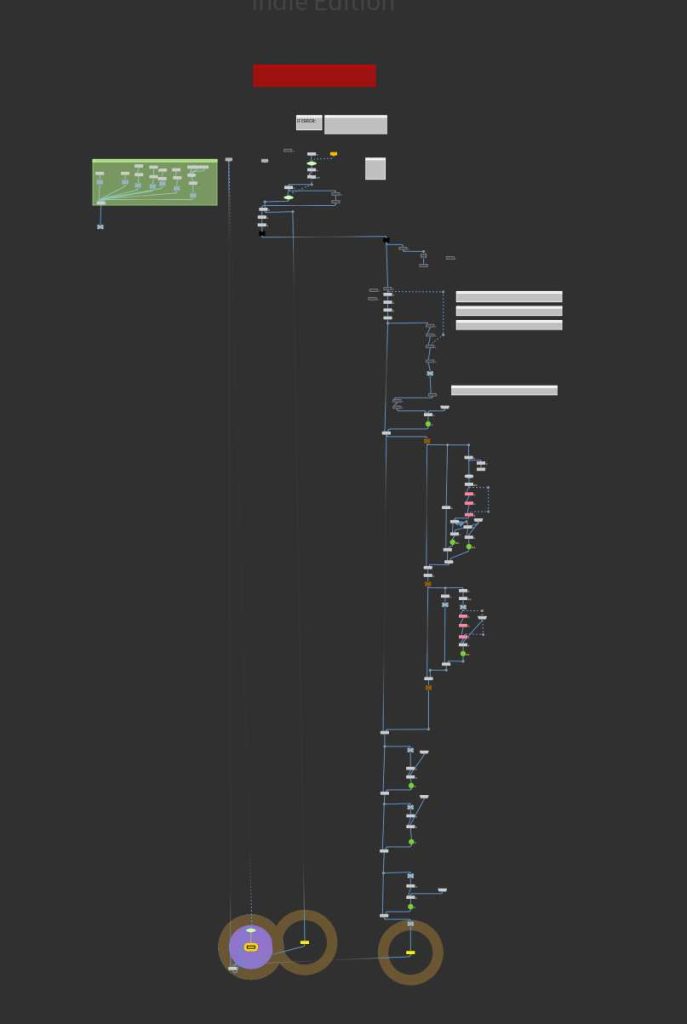
Like here, I have a character that has joints and weights on the skin, so I’m just importing all that stuff and piping it into a ‘rig’ HDA that I made.
BUT, it’s slow and limited and complicated.
And, diving inside, it’s a bad mix of ‘too complicated’ and ‘not complicated enough’ and you wouldn’t want to use this for anything other than posing (it took a long time just to put together).
But, now in APEX they have autoriggers and it’s supposed to be super fast, so… it’ll be production ready soon (if not already).
In Production
For all my yapping, that’s kind the point: What works in a real production for a group of people trying to work as fast as possible while getting as much quality and user friendly control as possible.
There’s just so many ways to go…
You CAN weight in Houdini, and in some ways it’s much better.
Instead of having to constantly, manually paint weights on your rig, it can do it procedurally, which, depending on the production, may be better.
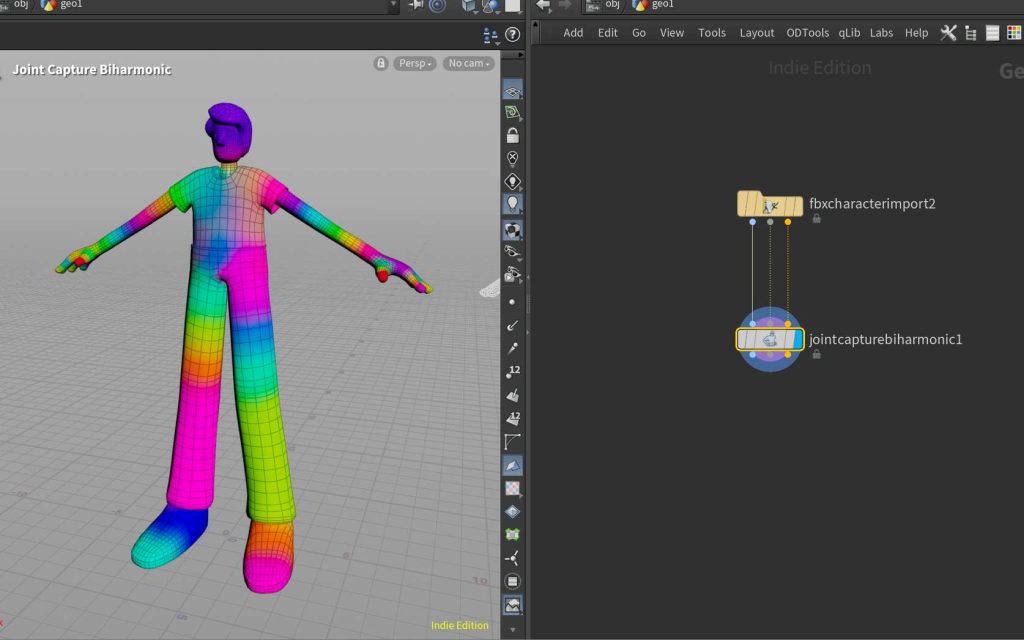
Or you can manually paint weights on with masking just as you were painting attributes.
Even painting on top of the weights from another app.
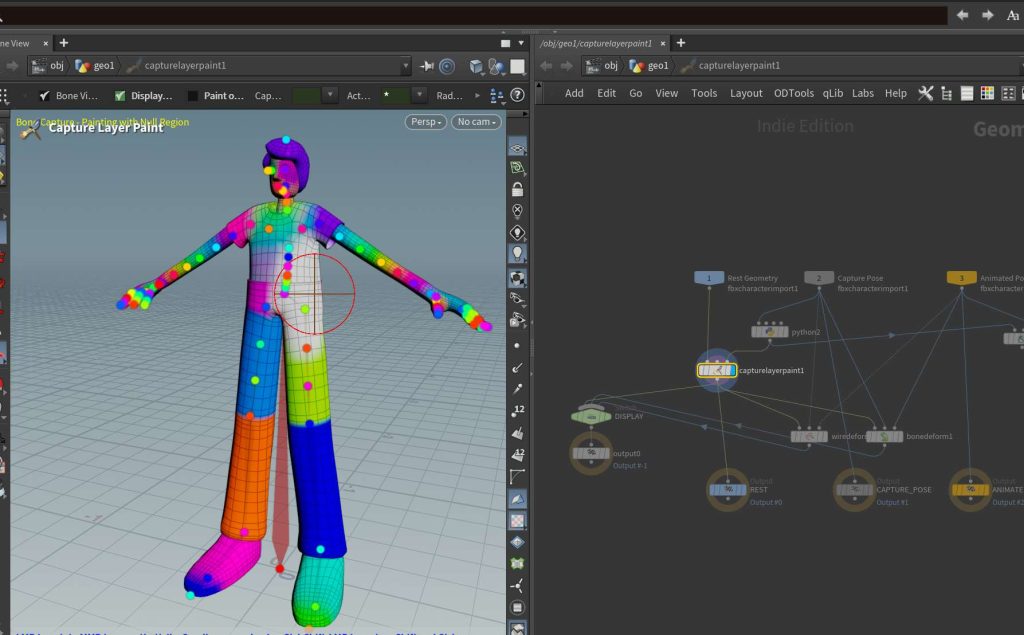
Then, you can transfer those weights onto other models.
Very Houdini stuff
It’s just figuring out the best workflow for each project.
But, the main thing being that there’s ways to make it as painless as possible with all these tools (and picking the right one at the right time).
Also, being able to think about it as modular system (like animation states in video games), where you have animation clips and you can just overlay them or apply them to the model.
I created a bunch of those animation cycles earlier in Maya and I can just call on them each one at a time.
It works great per-scene, where you could animate a character’s specific animation in Maya and then bring it into the scene in Houdini for layout and rendering.
Or, leveraging more things Houdini is great at, piping it into a crowd system.
I did a stupid, goofy ending to my reel while I was trying to learn this stuff (it’s not high quality – it was a learning exercise… so PLEASE excuse it as it’s rough and way too weird to be showing here, but it is an example of how all the pieces can work together – characters, simulations, etc to tell a quick little story, no matter how creepy).
(Skip to about 2:28)
I think that sort of covers the process.
Obviously, there’s a lot more involved (in the sense that this is kind of a narrow use case).
I have other projects that a more focused and ‘cinematic’, focused around singular character animation with higher quality, narrative styles (for example, scenes where a specific character is interacting with a specific environment or prop).
Please let me know if you’d like me to go into detail about any of the above or even walk you through other projects that may be more relevant to the work you want to do!
Thanks!!!